What is the tree of life?
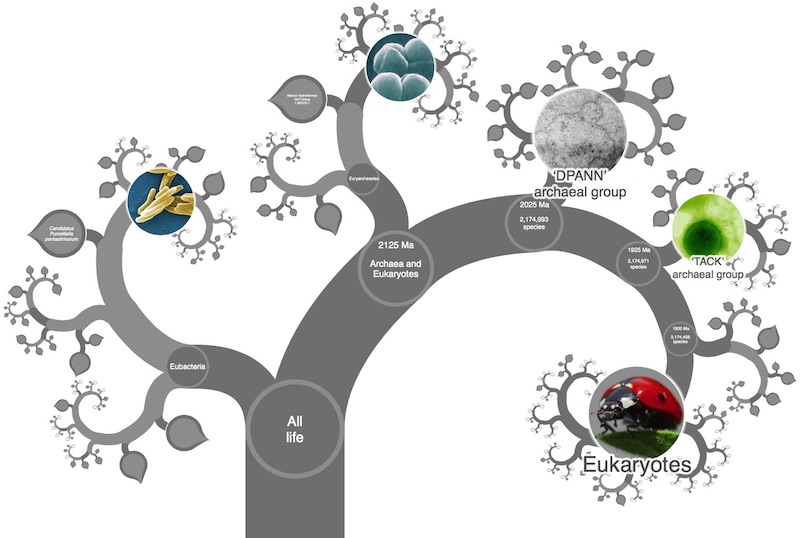
Everything that is alive, or has ever been alive has a place somewhere on the complete tree of life. Each leaf represents a different species and the branches show how they are evolved from common ancestors over billions of years.
Basics of how to explore the tree
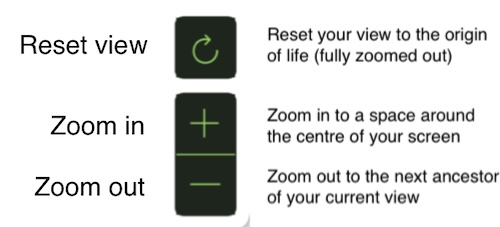
Explore OneZoom like you would a geographic map. Zoom in to reveal more detail by pinching on your touch screen or scrolling on your mouse. To move around click and move your mouse or use your touch screen. Larger screens show + and - buttons on the bottom left that you can also use to zoom in and out.
What the colours mean
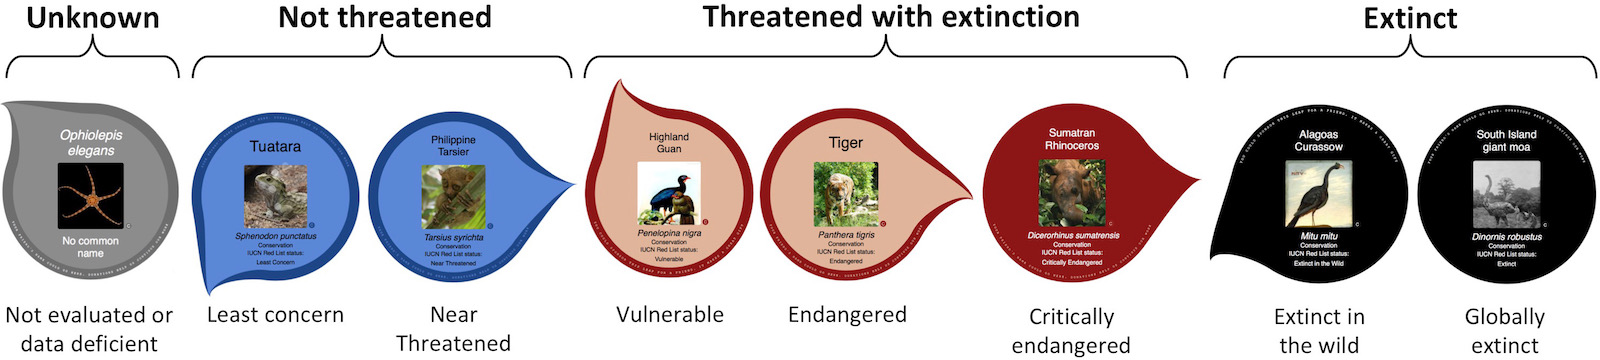
Under default settings, the leaf colours correspond to the risk of extinction for the species that leaf represents. Leaves corresponding to species that are "vulnerable", "endangered", or "critically endangered" according to the International Union for the Conservation of Nature (IUCN) Red List are shown in red. These are all the species that are known to be under threat of extinction. The leaves shown in green represent species that are known to be okay for now (not under threat of extinction). These are "least concern" or "near threatened" species.

Most of the leaves are grey meaning that their risk of extinction is not known. This could be because the species is "not evaluated", or classified as "data deficient" by the IUCN. It is also possible that a species with a grey leaf has been assessed by the IUCN but under a different species name that we weren't able to identify automatically.
Settings menu
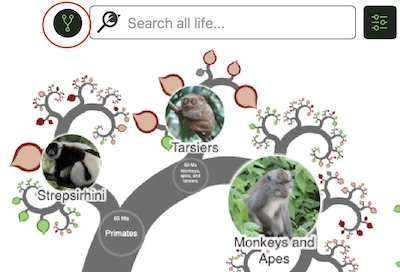
Many of the things we'll be referring to in this user guide are accessible from a settings menu at the top right of the tree view. You need to press the settings button to open the settings menu.
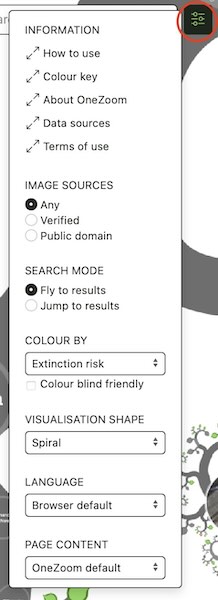
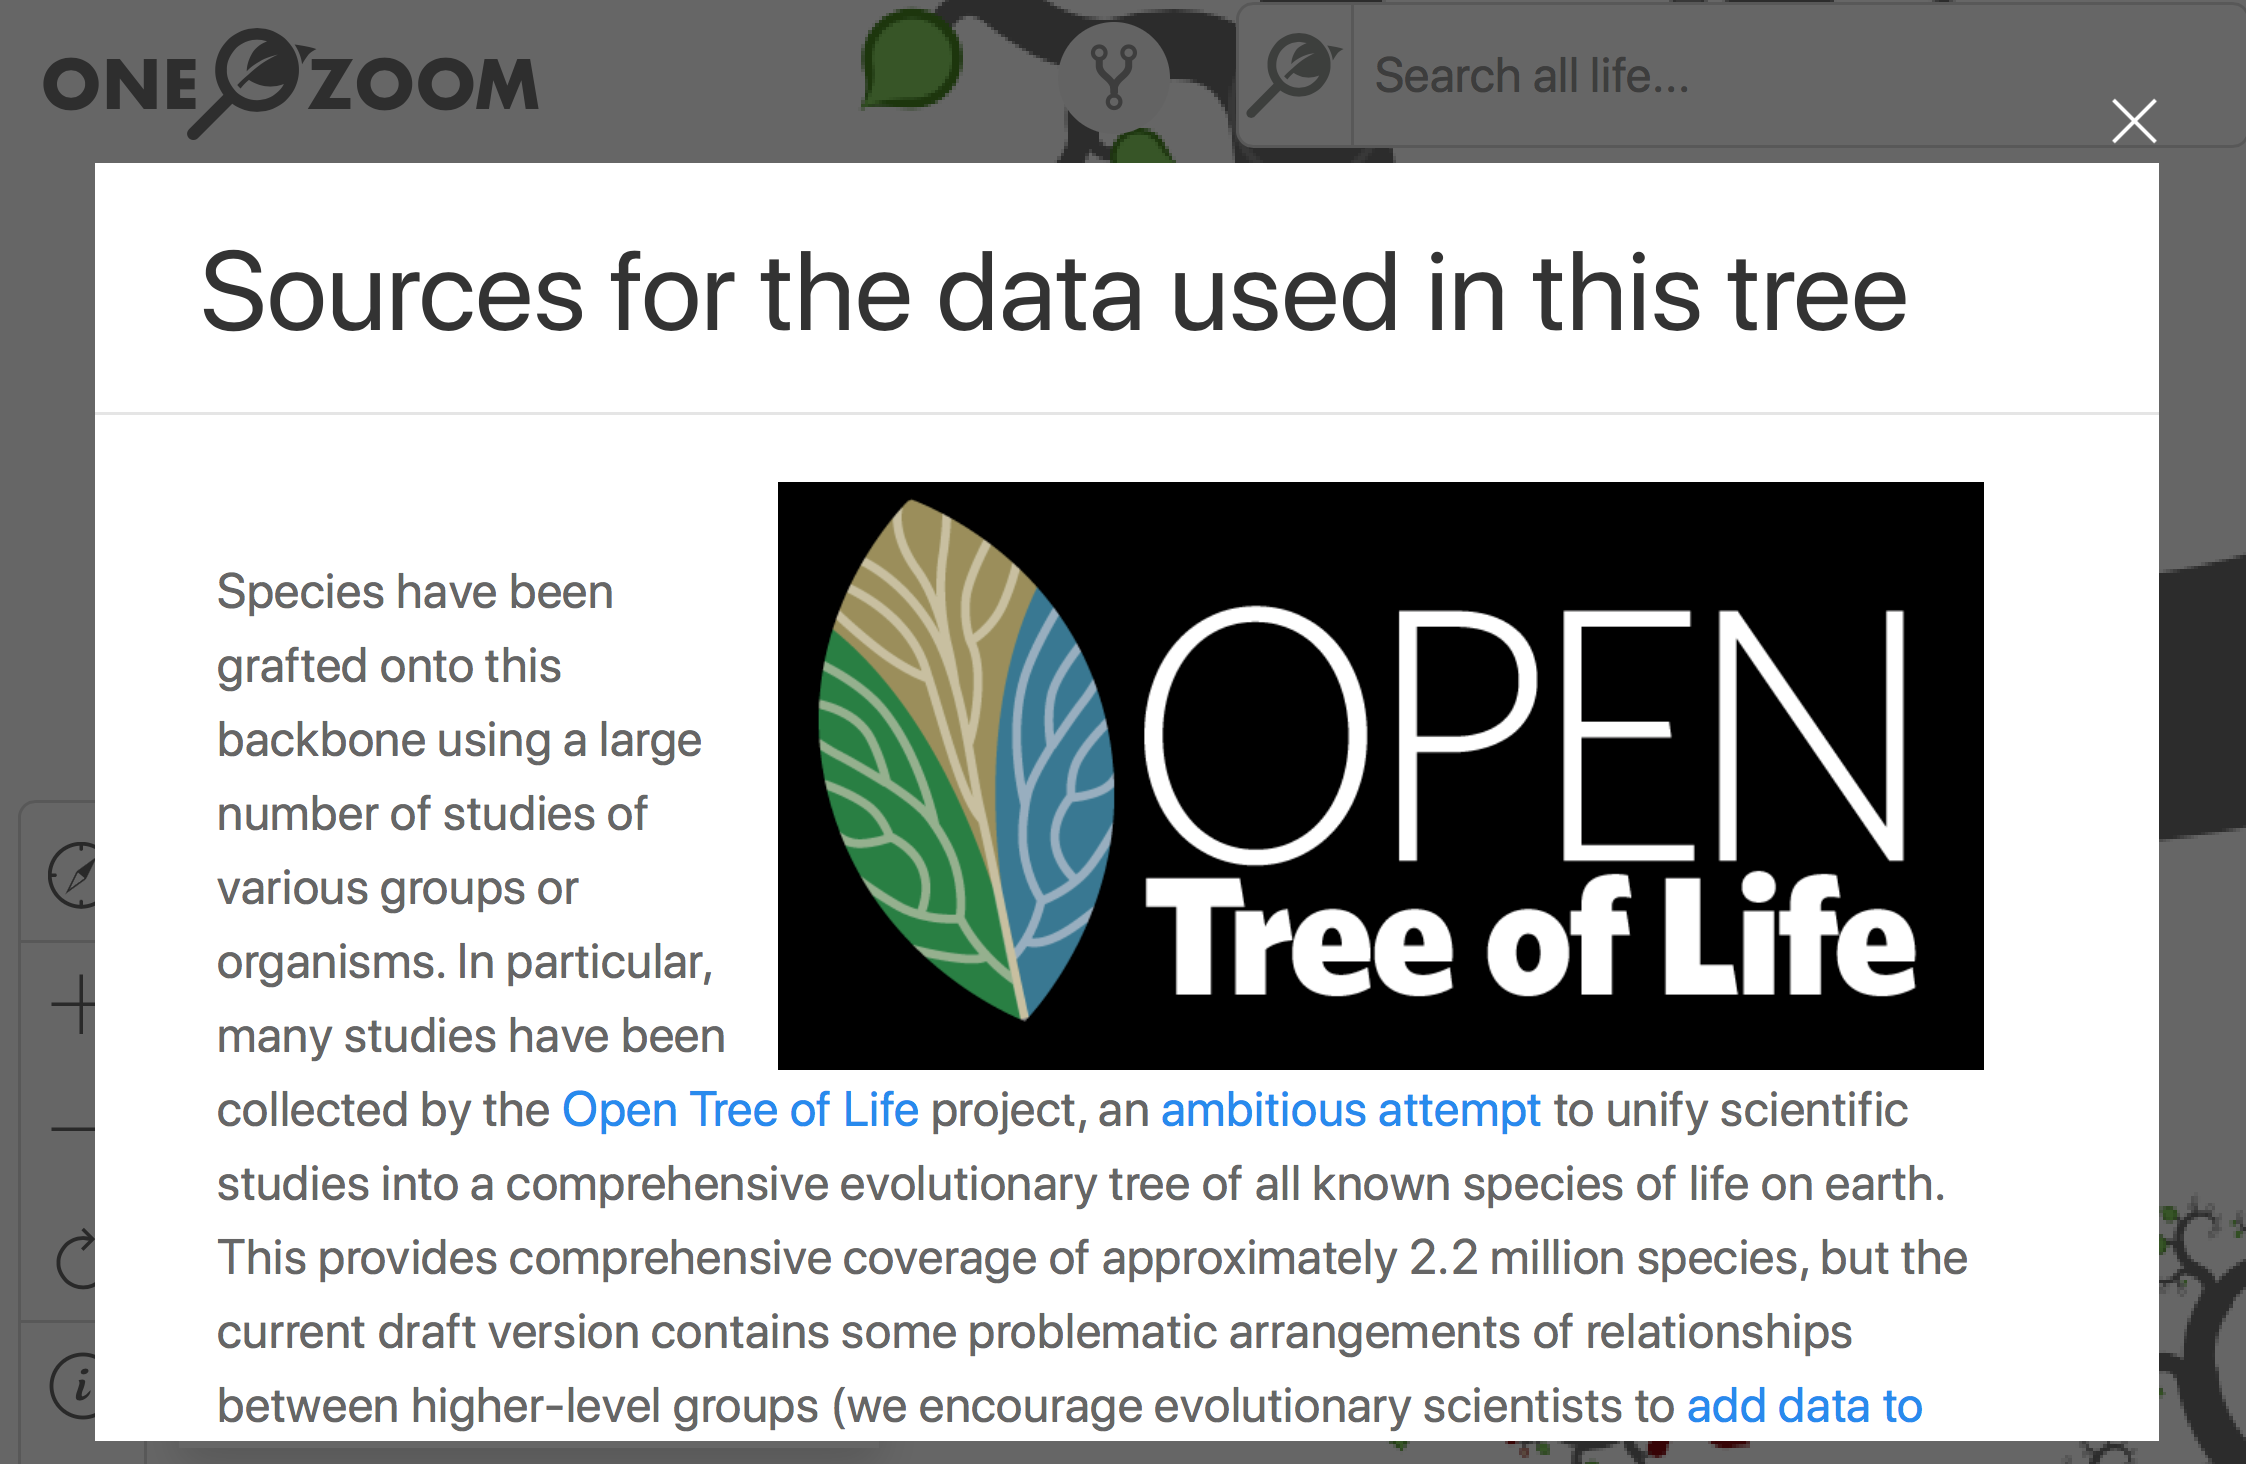
The information section provides further information about the tree. For example, the present guide is accessible from the 'how to use' option. Another example is a detailed page listing all the data sources contributing to the tree.
The language setting does what it says on the tin: it enables you to change the language of the tree of life explorer itself. Unfortunately, it does not yet change the language on other pages of our website.
The page content setting enables you to select between slightly different markups of extra information on the tree. So far the only alternative to our default is a markup to accompany The Ancestor's Tale (2016) book by Dawkins and Wong.
Changing the colour scheme
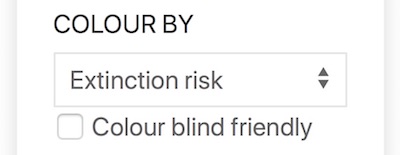
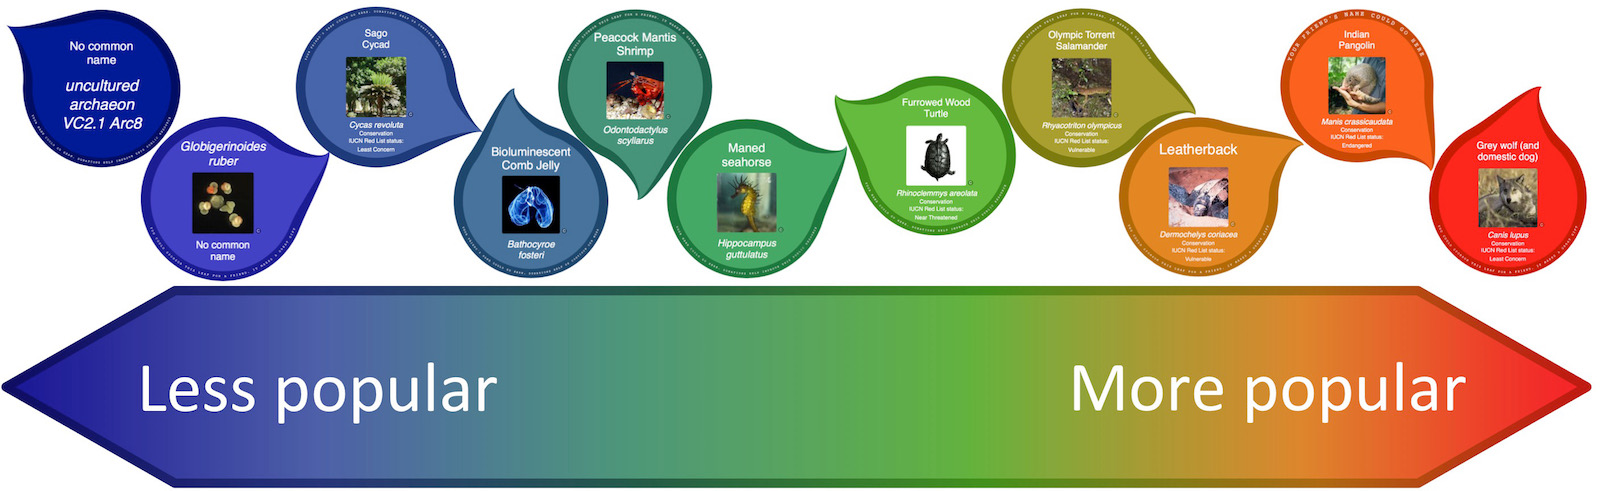
You can change the colour scheme from the settings menu. Another nice colour scheme on offer shows how popular each species is according to our index of species popularity.
The settings menu also has a tick box for colour blind friendly versions of all colour schemes.
We have some plain colour schemes too in case you just want a simpler tree e.g. for screenshots using our screenshot tool.

Searching within the tree
You can use the search box to type what you're looking for. Press enter to search or just wait and a list of possible search results will appear. Select what you want and the tree will automatically take you there.

Please bear in mind, you won't find viruses or pre-historic species like dinosaurs. We hope to provide more information on these groups in future updates. Sill, there's already so much out there you'll be amazed what you can find.

In the settings menu, you can change the way you're taken to search results. 'Jump to results' will take the tree to place you want instantaneously. 'Fly to results' will automatically zoom you to your destination, which will take longer but allow you to see the context, including the relationship between what you're currently looking at and your search result.
Zooming into leaves and nodes
You can zoom right into leaves of the tree to give more information about that species.

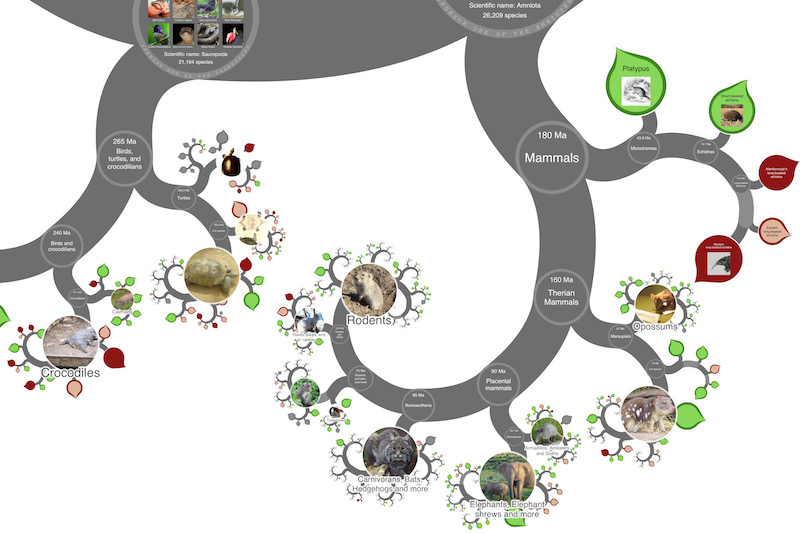
You can also zoom into the places where branches join together. We call these places 'nodes' and they represent the most recent common ancestor between two or more sets of species.
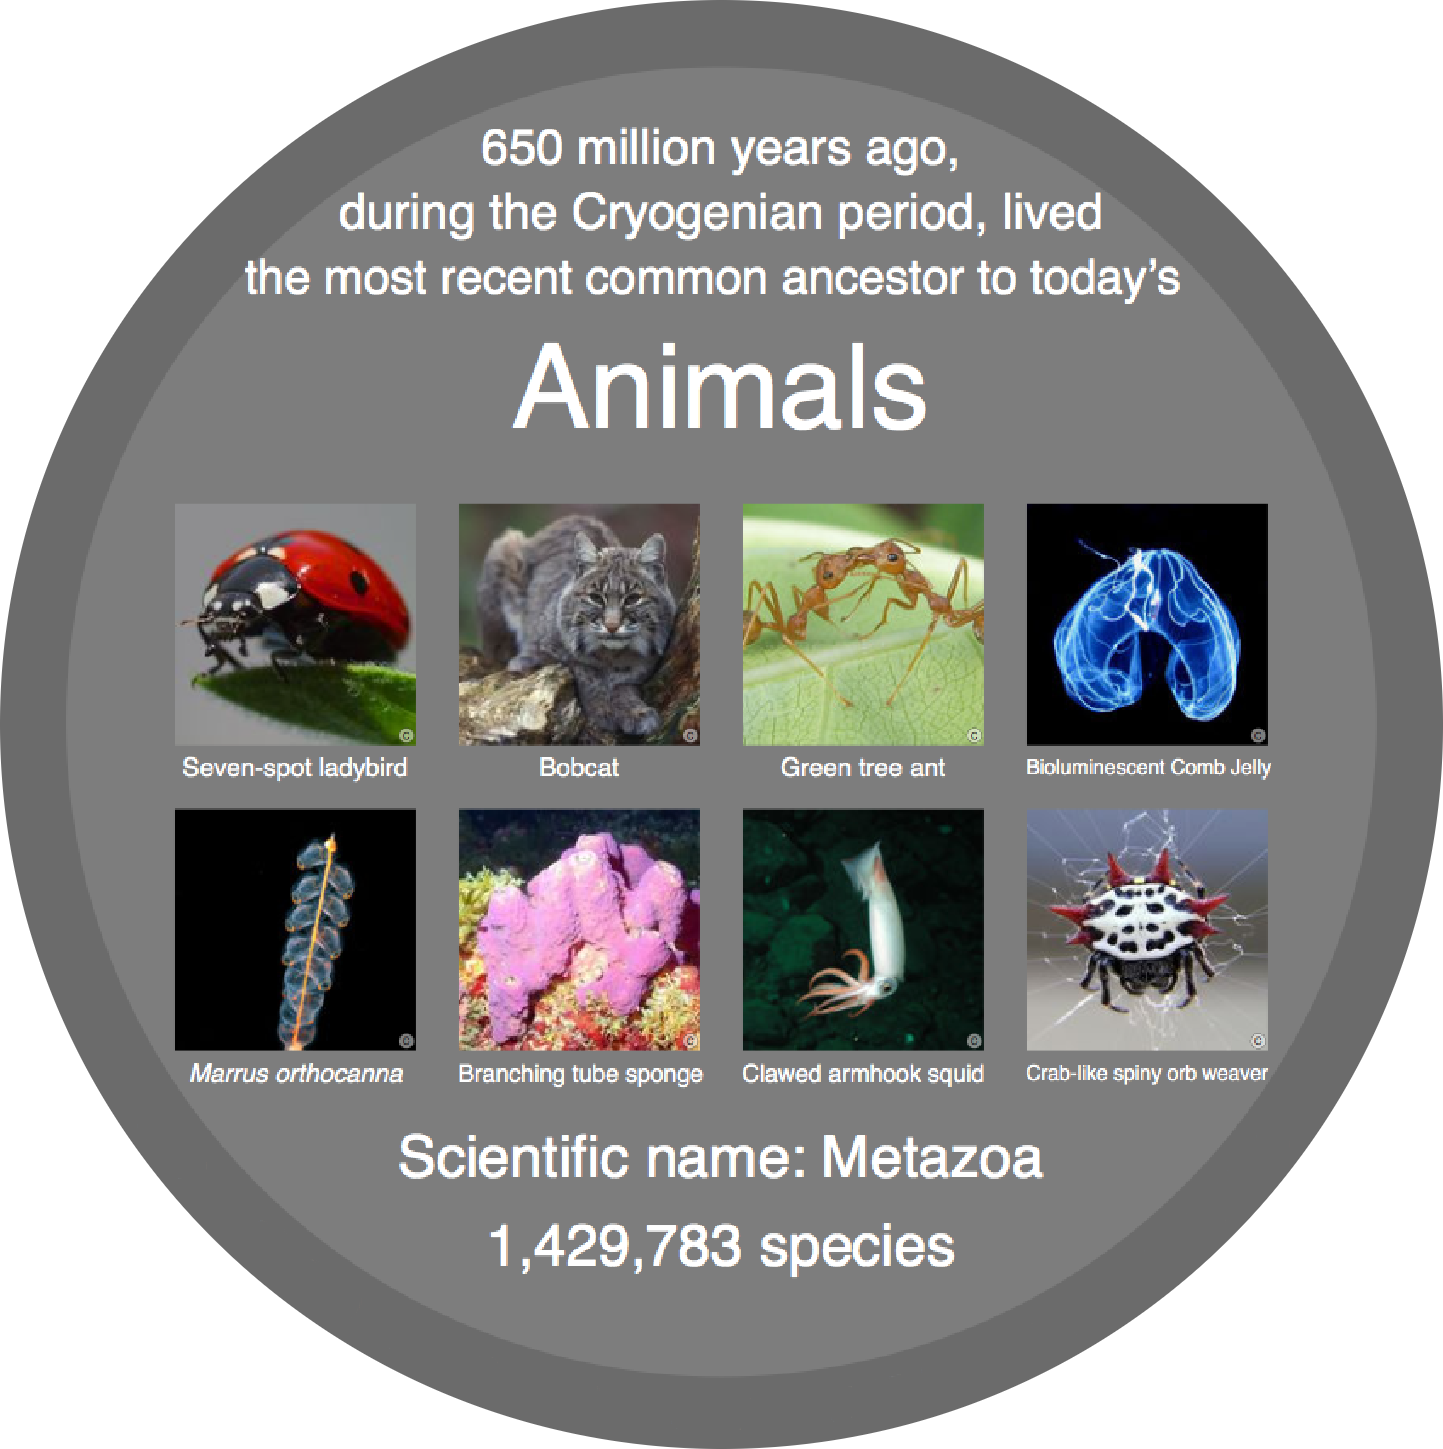
Where possible, nodes show a representative set of descendent species' images. You can click on the names of any of these to be taken straight to the leaves of the tree that represent them.
Finding out more
As you explore the tree you can click on the names of leaves and nodes to quickly reveal information from other resources such as Wikipedia and the Encyclopedia of Life. Clicking opens up a selection of tabs that you can easily switch between. So you need look no further whenever you want to find out more about the diversity of life on earth.

Note that the tabs of information on offer aren't always the same as not every resource has information on every species.
Avoiding getting lost in the tree
When exploring a large tree it can be easy to get lost. To help avoid this, when exploring with a mouse, the tree won't permit you to navigate to a place where no leaf or common ancestor is on the screen. It also won't let you zoom in to a useless extent (e.g. fill the whole screen with one letter. We've provided additional tools to help you know where you are in the tree.
The location icon on the left brings up a list of groups that are all clickable and will zoom the tree out automatically to the ancestor node that you clicked on.

More on the location feature
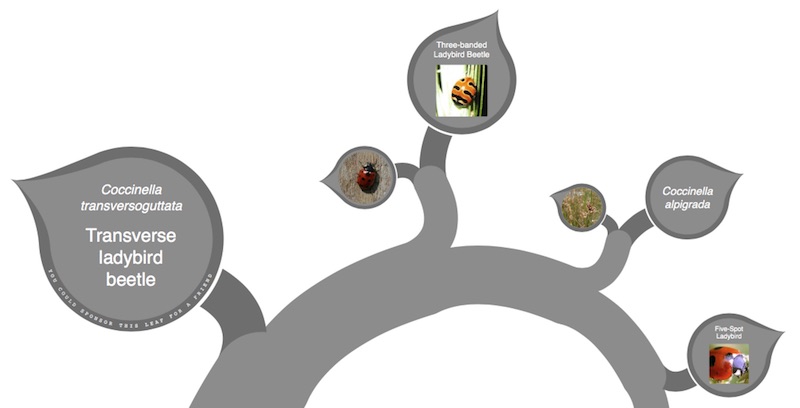
The location button on the bottom left lists named nodes that are ancestors to your current view of the tree. The grey shapes between named nodes on your list also give information. The group 'Lady beetles' with 12 species is a very tiny part of the much larger group that contains it. The shape connecting the two is therefore almost a triangle showing that 'lady beetles' are a very tiny part of the 'Lady beetles and ladybird beetles'.

Beetles represent a substantial proportion of the 'insects with complete metamorphosis' and hence the grey shape is a trapeze that illustrates the group above is a substantial part of the group underneath.

What we don't know yet
In the tree of life we're displaying there are many places where one branch splits simultaneously into more than two descendants - this is called a polytomy. When polytomies occur, it is almost always because there isn't enough knowledge about the order in which the different species split apart. The 'polytomy' view of the tree shows these polytomies directly whereas our other views randomly guess the order in which descendants of a polytomy are split. So that you know which parts are not resolved yet as you explore the tree, we colour the randomly resolved branches in a slightly lighter shade.

Nodes that exist only because of randomly resolved polytomies do not show any extra details. They will not have names and only represent most recent common ancestors if our random guess is correct. So it doesn't make sense to pretend there is anything to say about them.
Tree visualisation shape
There are many different ways to look at the same tree of life apart from our default spiral view. Try some of the others from the settings menu, but remember that they all show the same underlying information.


The 'polytomy' view is a bit different because it displays directly when one branch joins more than two others. As a result it doesn't contain any randomly resolved nodes.
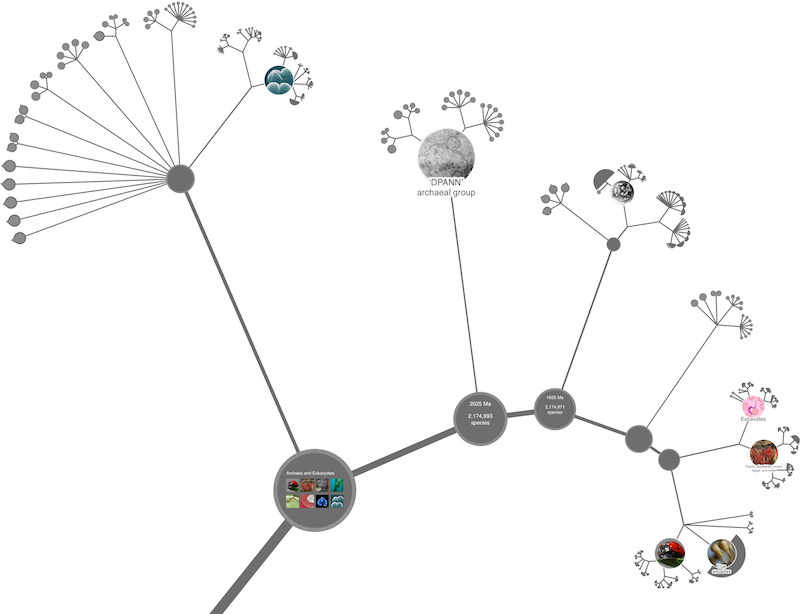
Image sources
We show the best quality images we can on the tree. Some images might require the author to be acknowledged, which is important to be aware of if you're reusing screenshots. Others might not be fully trusted as accurate images of the species.

In the settings you can select to show only 'verified' images that are more likely to be correct, or to show only 'public domain' images, which can be reused without acknowledging the source.

The copyright symbol next to each image contains further information about the source.

Common ancestors
The advanced search mode enables you to mark several locations on the tree and find their most recent common ancestor.
Each of the two search boxes behaves like the main search box described earlier. When you search for something it will be highlighted in a colour matched by a pin that appears next to the search box in the same colour.

After selecting two search locations you can press the common ancestor button to take the tree to the location where the two locations share their most recent common ancestor.
Marking more locations
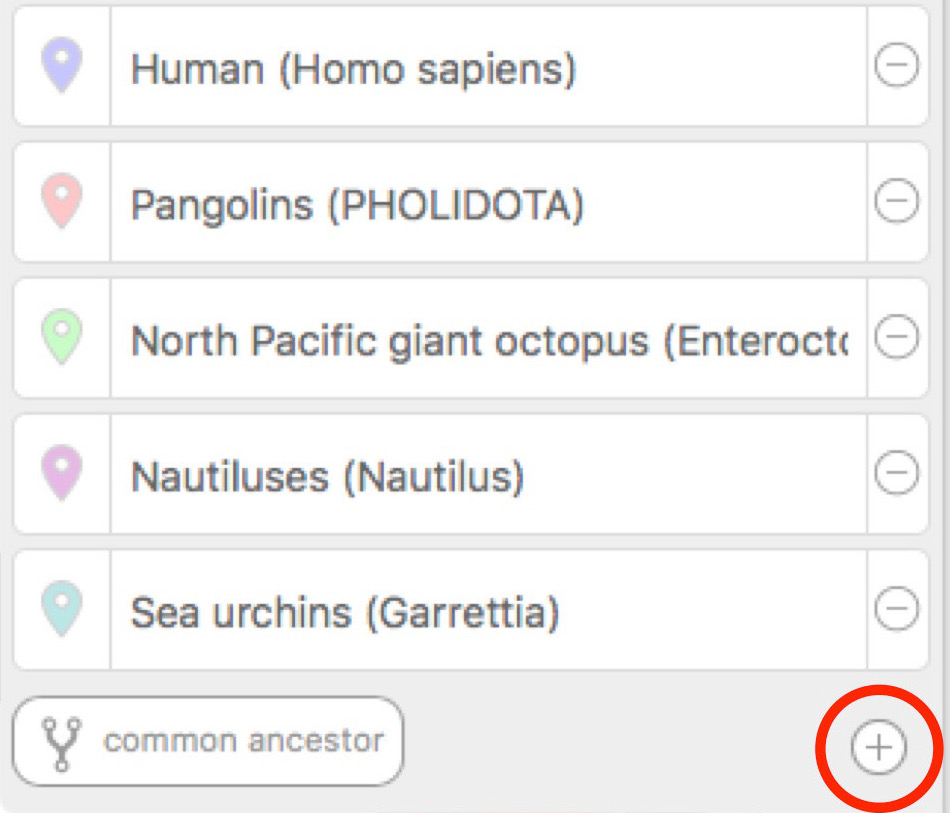
If you wish to mark more than two places on the tree and find their common ancestor use the + button to add further search boxes.
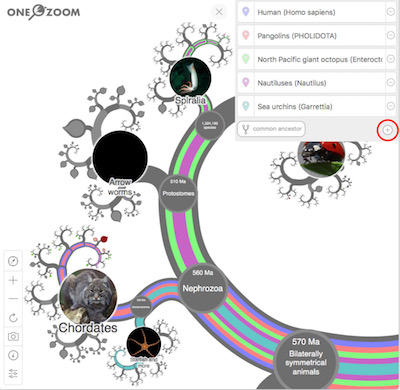
The common ancestor button now shows the most recent common ancestor between all of the marked places. Clicking on the pin next to each marked place will take you to that part of the tree.