The tree of life
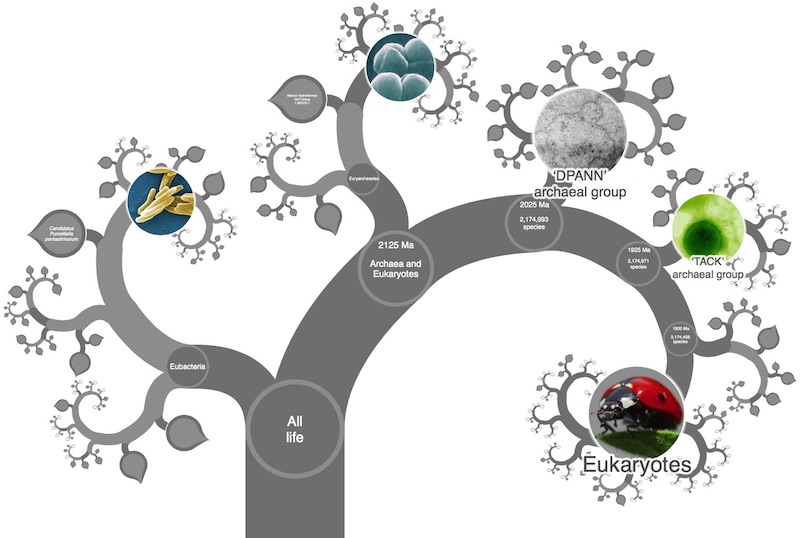
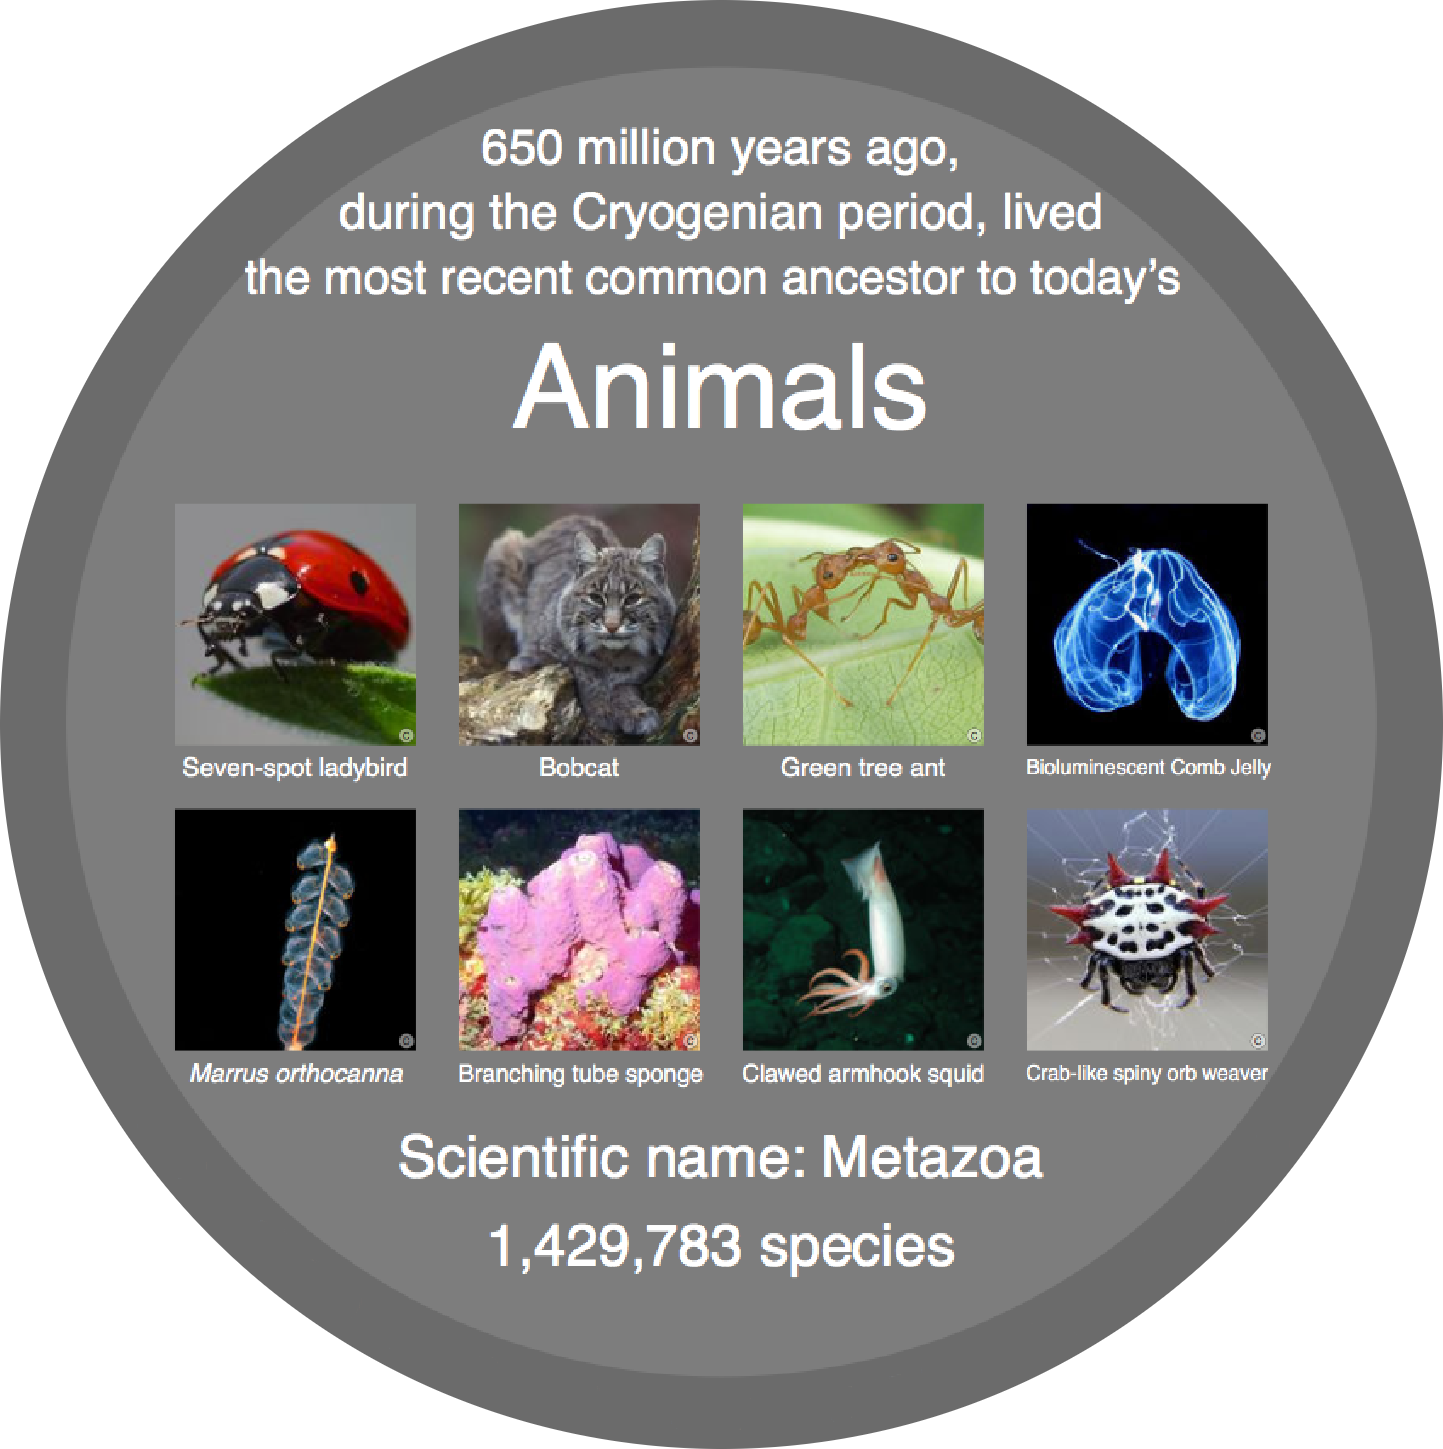
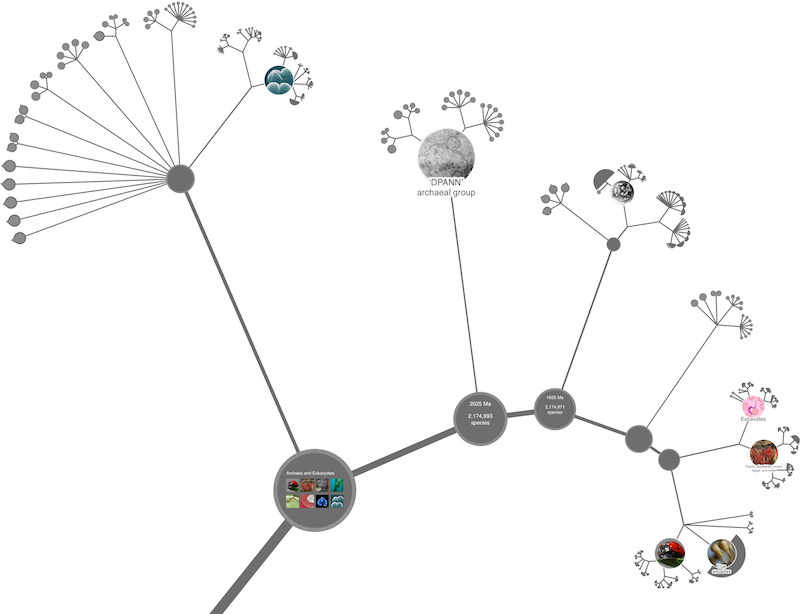
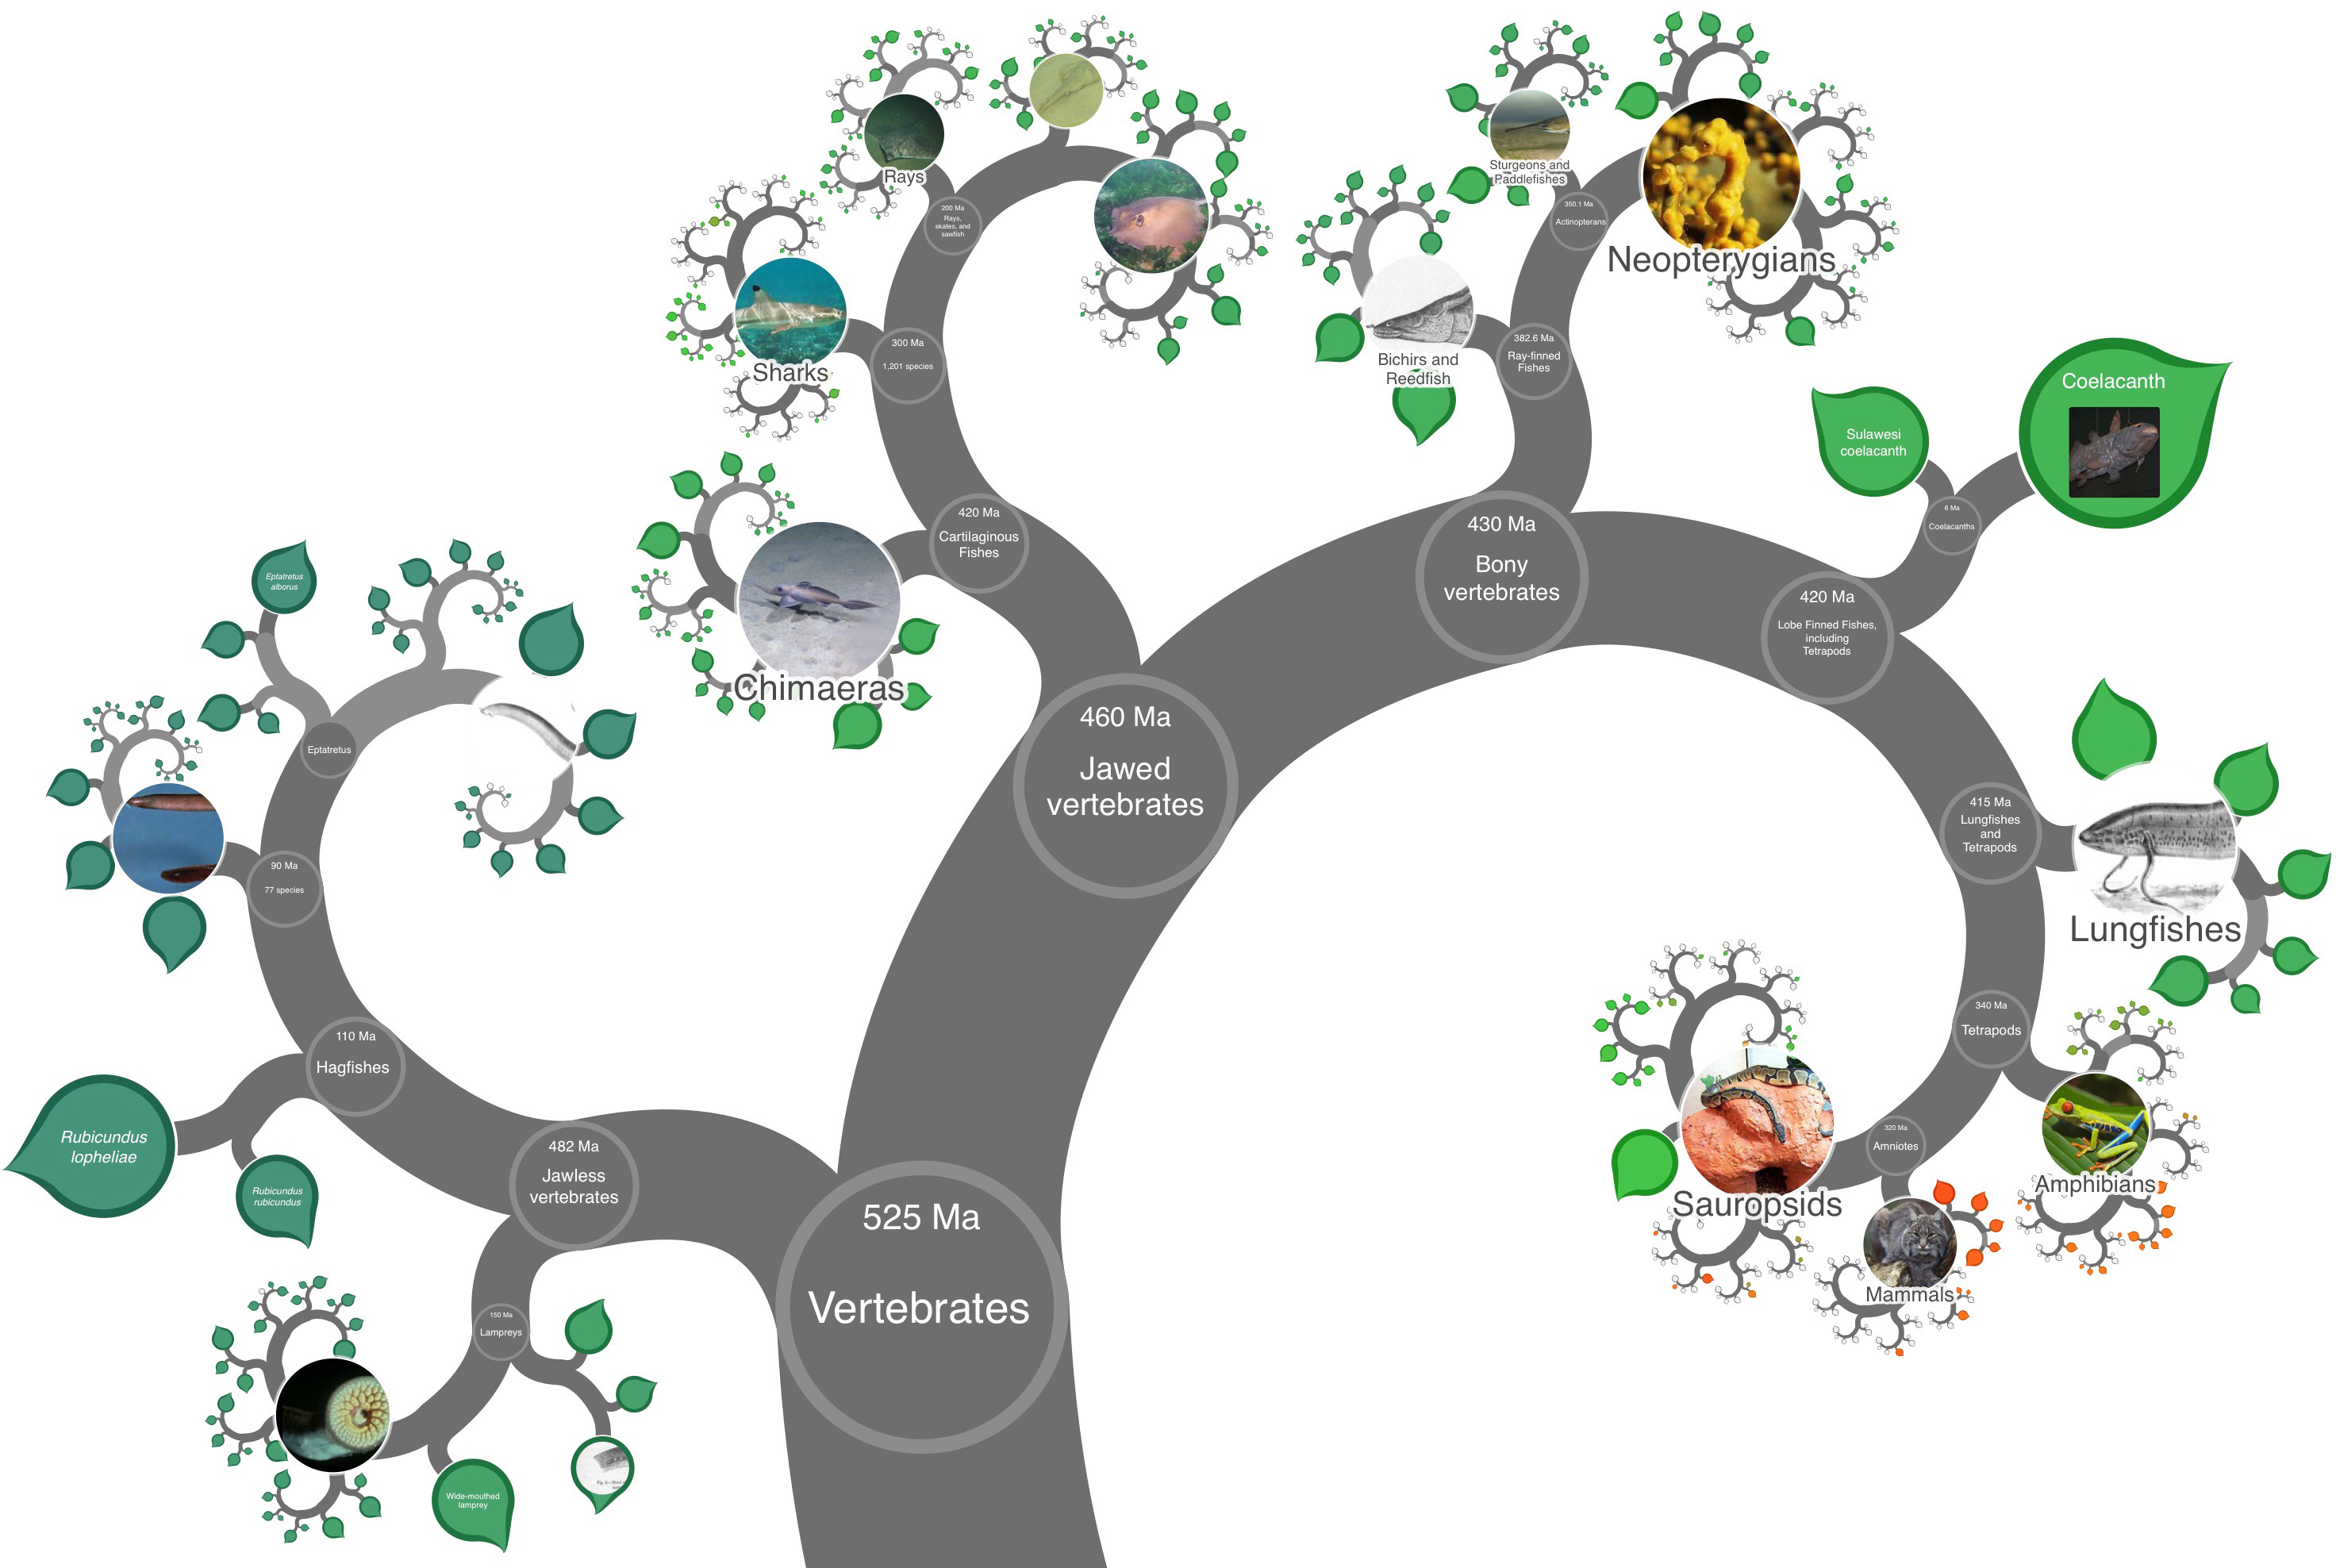
Everything that is alive, or has ever been alive has a place somewhere on the complete tree of life. Each leaf represents a different species and the branches show how they are evolved from common ancestors over billions of years.
Our vision
Our vision for OneZoom is to do for the tree of life what online mapping tools have done for the globe; to make the complete tree of life a public good at everyone’s fingertips, free of charge and free of advertising.
What we've been doing
We have been working on this resource since 2011, but all that time we have not done much curating of our own. Instead we have been building tools to automatically connect together information that is already available from scientifically accurate resources. We then developed new technology to present these data in a visually stunning way that is easy to navigate. We're now on version 4.1-63-g475de863.
Brief instructions
Explore OneZoom like you would a geographic map, zoom in to reveal more detail by pinching on your touch screen or scrolling on your mouse. To move around click and move your mouse or use your touch screen.
What you can see on the tree
OneZoom is the only tool where you can explore the complete tree of all known life, over two million species, on one page. You can find everything here from the Aaa Water Treader Bug to the ZZ Plant. In fact, there are so many species on the OneZoom tree, that if it were printed, the paper would span our entire solar system… at least sixty times over. This is also the only resource with images and common names of species in the complete tree of life. Here, you can discover your favourite species, see which species are under threat, and be amazed by biodiversity.
Finding out more

As you explore the tree you can click on the creatures you see to quickly reveal information from other resources such as Wikipedia and the Encyclopedia of Life. So you need look no further whenever you want to find out more about the diversity of life on earth.
Different views of the same tree
There are many different ways to look at the same tree of life apart from our default spiral view. Try some of the others, but remember that they all show the same information.


What the colours mean
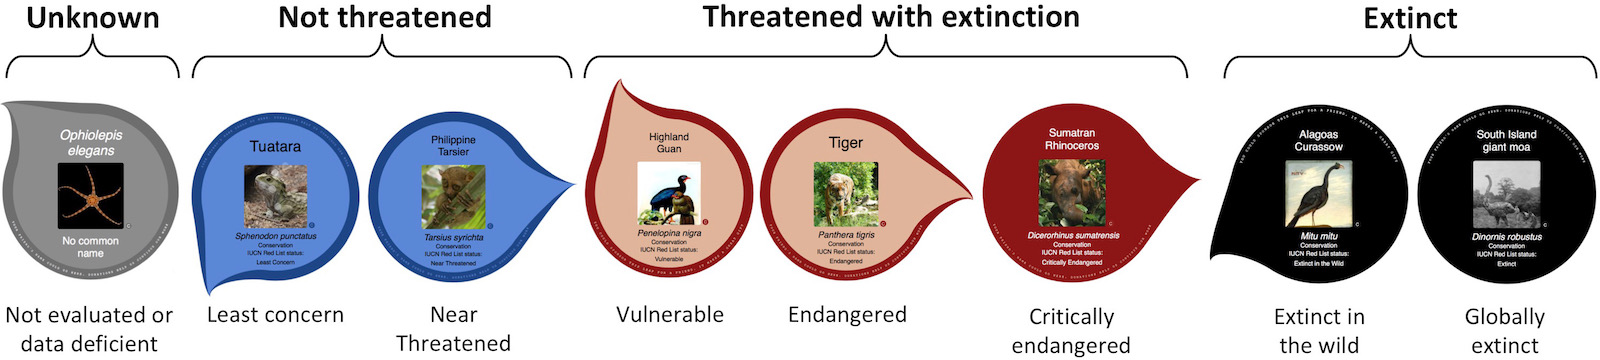
Leaves corresponding to species that are vulnerable, endangered, or critically endangered according to the IUCN Red List are shown in red. These are all the species that are known to be under threat of extinction. The leaves shown in green represent species that are known to be okay for now (not under threat of extinction). Most of the leaves are grey meaning that their risk of extinction is not known.

Changing the colour scheme
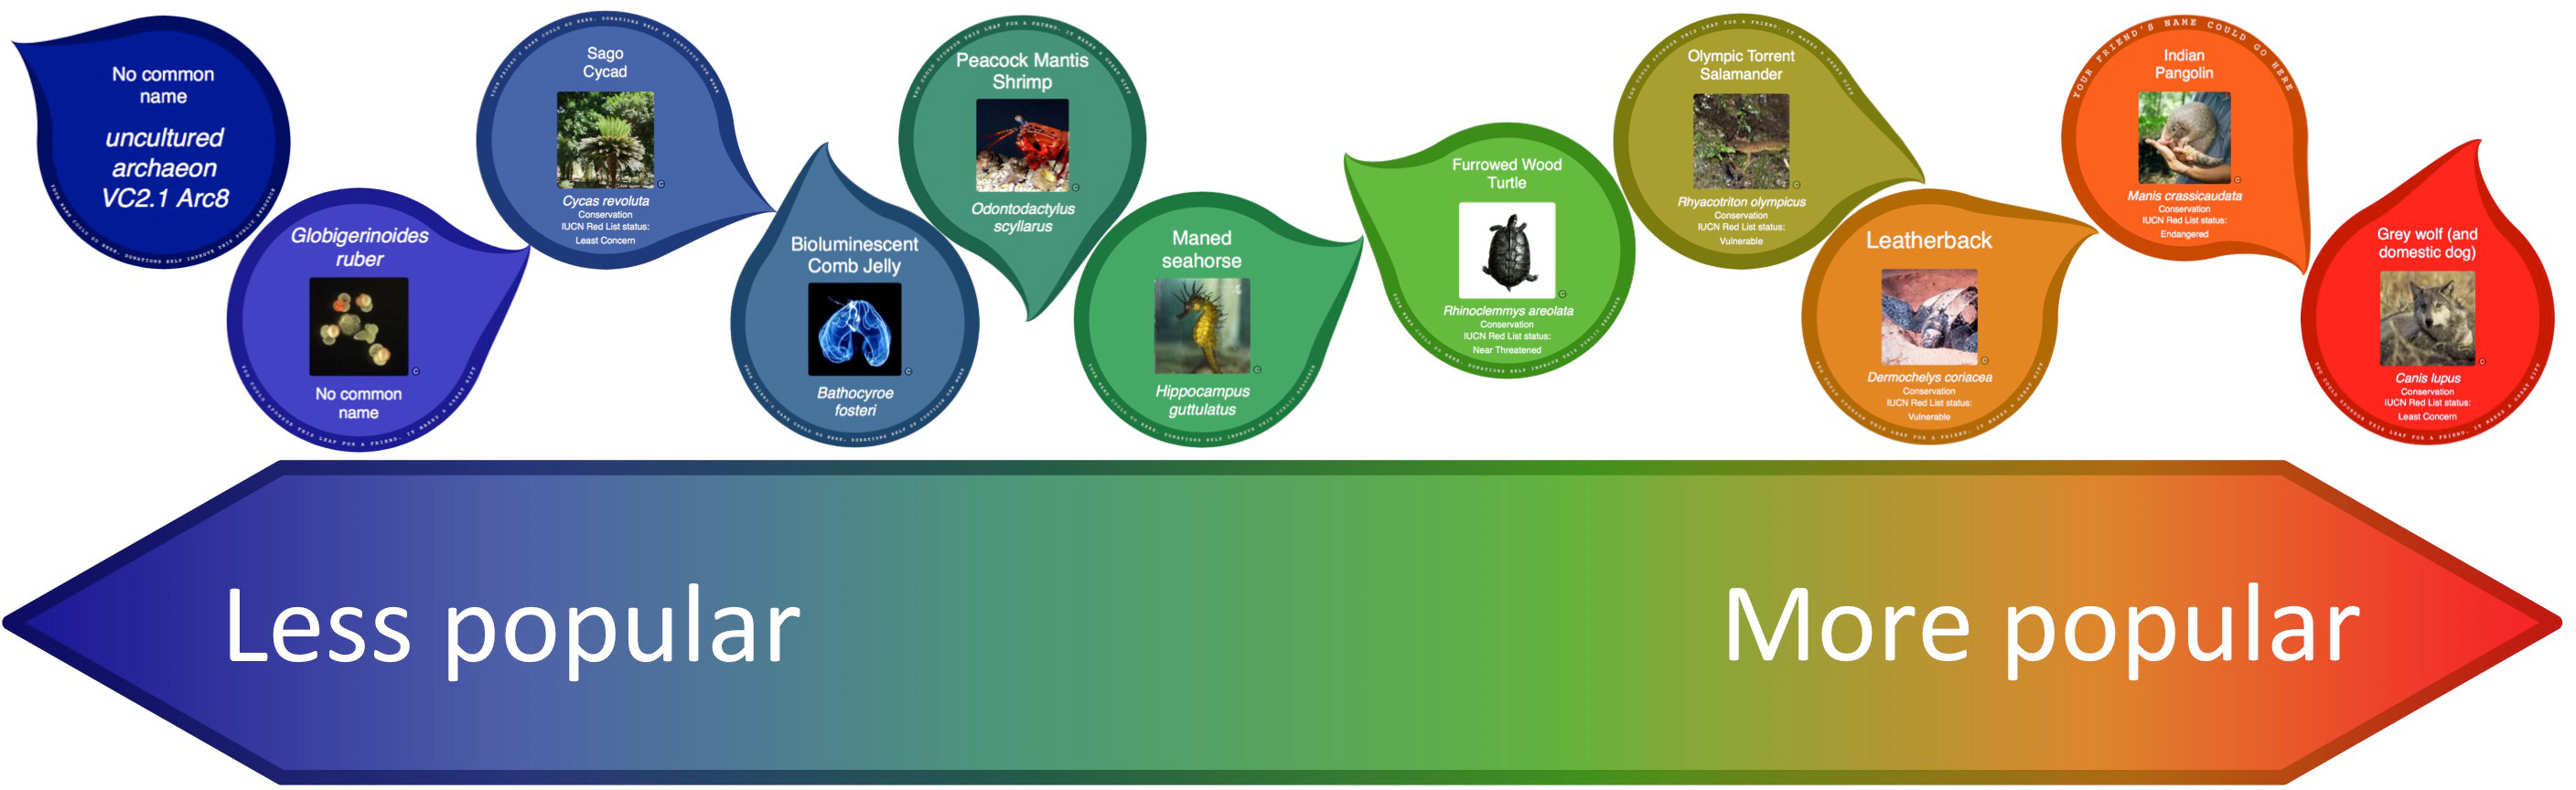
You can change the colour scheme from the menu of settings on the bottom left of the tree. A colour key can also be opened from the information panel to the left of the tree of life explorer. Another colour scheme on offer shows how popular each species is according to our index of species popularity.
The settings menu on the bottom left of the tree also has a tick box for colour blind friendly versions of all colour schemes.
What we don't know yet
In the tree of life we're displaying there are many places where one branch splits simultaneously into more than two descendants - this is called a polytomy. When polytomies occur, it is almost always because there isn't enough knowledge about the order in which the different species split apart. The 'polytomy' view of the tree shows these polytomies directly whereas our other views randomly guess the order in which descendants of a polytomy are split. So that you know which parts are not resolved yet as you explore the tree, we colour the randomly resolved branches in a slightly lighter shade.

You're now ready to get started exploring the tree. However, we've prepared a more advanced user guide in case you want to learn more about how to use the tree of life explorer. The same guide is available from within the tree view by pressing the information button on the bottom left then selecting 'how to use'